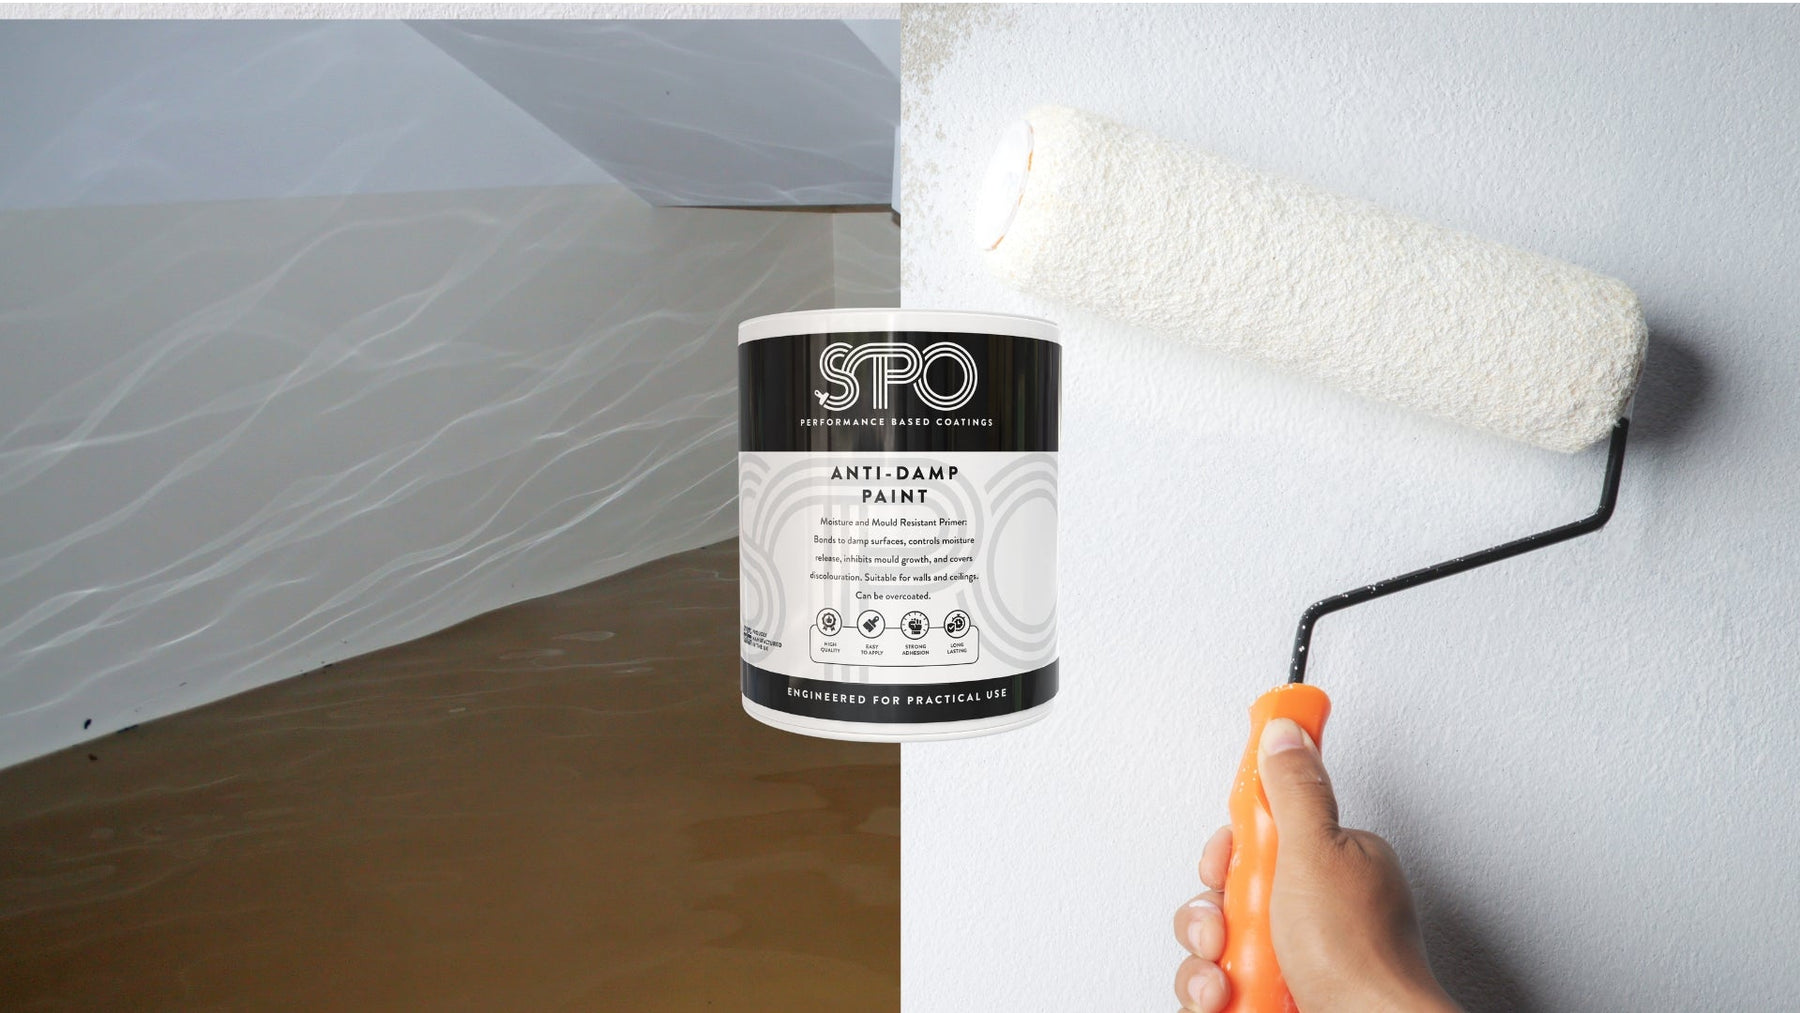
How to Paint Damp Walls & Ceilings After a Flood with SPO Anti‑Damp Paint: Rapid UK Recovery
Quick Highlights
- Ideal for flood‑affected walls and ceilings still retaining moisture
- Oil‑based formula locks in damp, prevents paint failure
- Resists efflorescence and mould with built‑in biocide
- 12‑hour wait before adding a breathable topcoat
- Helps reclaim your home faster post‑disaster
Introduction
Understanding Damp Walls and Ceilings After a Flood
Floodwaters can saturate walls and ceilings with moisture, silt, and contaminants. Fully drying out can take a long time, leaving you stuck with an unusable space if you rely on standard paints.
Why Conventional Paints Fail
Typical paints trap water behind the coating, causing warping, blistering, and peeling. This also promotes mould growth and recurring damp patches that undermine any new paint job.
SPO Anti‑Damp Paint: The Go‑To Solution
Anti-Damp paints oil-based formula includes a hydrophilic additive that reacts with incoming moisture, helping the paint bond more securely to the damp substrate.The paint’s microstructure allows moisture to dissipate gradually preventing pressure building. It also contains a built-in biocide to inhibit mould growth.
How to Paint Damp Walls and Ceilings After a Flood

Surface Prep
- Clear Out Debris: Remove any mud, silt, or loose materials left by floodwaters.
- Disinfect & Clean: Wash walls and ceilings to eliminate contaminants. Scrape off flaking paint.
- Check Saturation Level: Walls and ceilings can be damp but not dripping. If puddles remain, dry them first.
- Optional Mould Remediation: If growth is visible, use a fungicidal solution ike Fluxaf Mould Remover.
- Filler (optional): If needed, fill any damaged or uneven areas with a suitable wall filler to ensure a smooth finish.
Application
- Mix Properly: Stir SPO Anti‑Damp Paint thoroughly.
- Apply Evenly: Brush, roll, or spray a thin, even coat—avoid thick accumulations.
- Ventilate & Wait 12 Hours: Let the paint cure before applying a final breathable topcoat.
- Tool Cleanup: White spirit is recommended for cleaning application tools.
Further Reading
- Main Blog: Learn the ins and outs of SPO Anti‑Damp Paint for flood recovery.
- Product Page: SPO Anti‑Damp Paint.
Contact Us
Need expert advice on tackling flood damage or selecting topcoats?
Our technical team includes qualified paint inspectors with extensive manufacturing and supply knowledge. We're here to support you—whether you need advice, help with this product, or guidance on other paint projects.
- Live Chat: On our website (bottom‑right corner)
- Phone: 01482 222421
- Email: info@specialistpaintsonline.co.uk
-
Business Hours:
- Mon–Thu: 8:30 AM–5:00 PM
- Fri: 8:30 AM–3:45 PM